
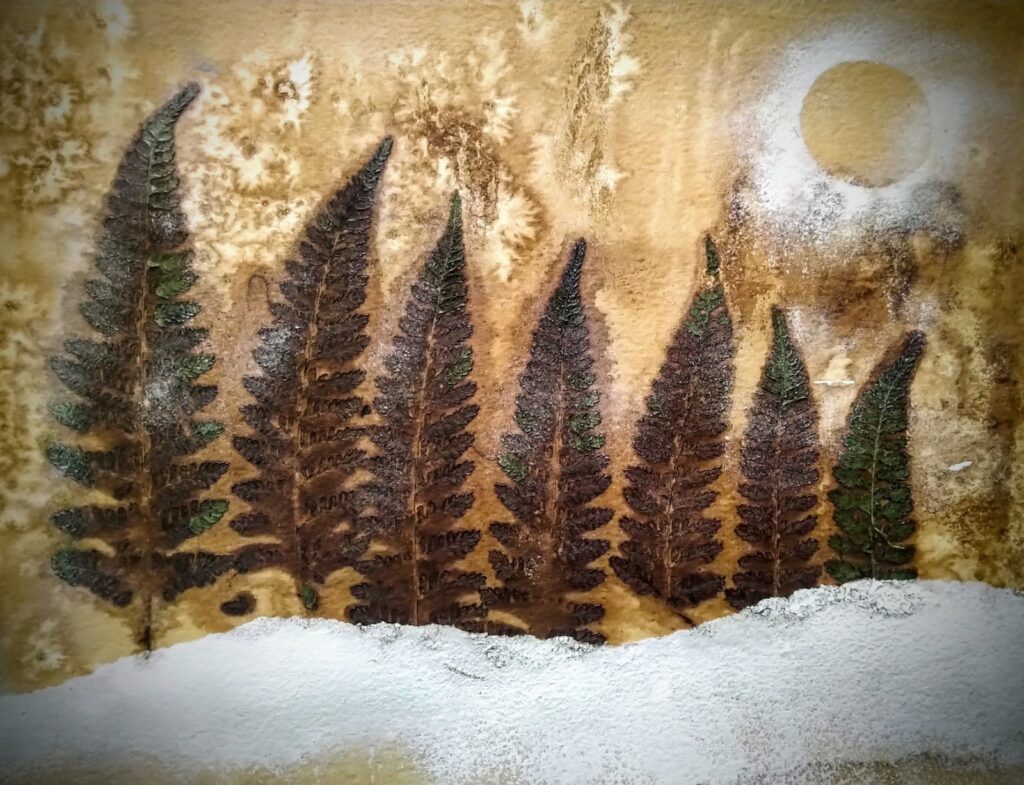
As part of our partnership with Get Outdoors Lanarkshire, we created explainer video tutorials on how to print with ferns. Visual Arts Tutor Tracy Gorman filmed and photographed the process of printmaking with fern leaves using coffee or watercolour paints. An online session was delivered to professionals on 3rd March 2021, but we realise others may wish to have a go. So, here’s our ‘How to’ for you to learn and take part at home.
You will need:

- Thick white paper
- Thick paint brush or sponge
- Fern leaf (or other leaves of your choice)
- Small bowl of water
- Rice
- Salt
- Coffee granules OR watercolour paints and pallet
Method
1. Get wrapped up and head outdoors to find some woodland and locate some ferns like this (you can also use other leaves as long as they aren’t thick and rubbery).
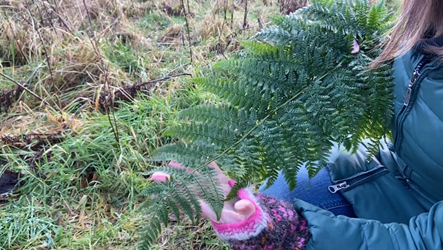
2. Take some time to look at the landscape around you for inspiration

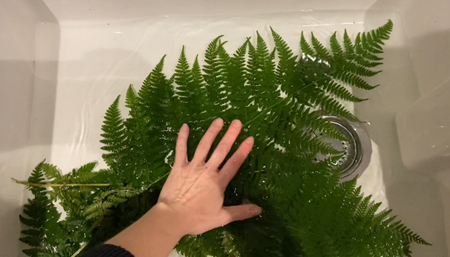
3. If you’re not using the ferns straight away here’s a top tip – soak in water to keep them fresh for longer.
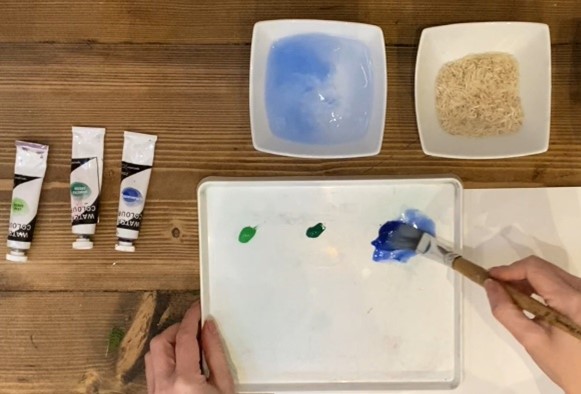
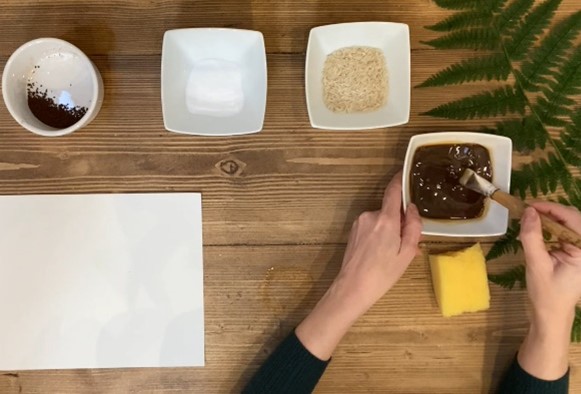
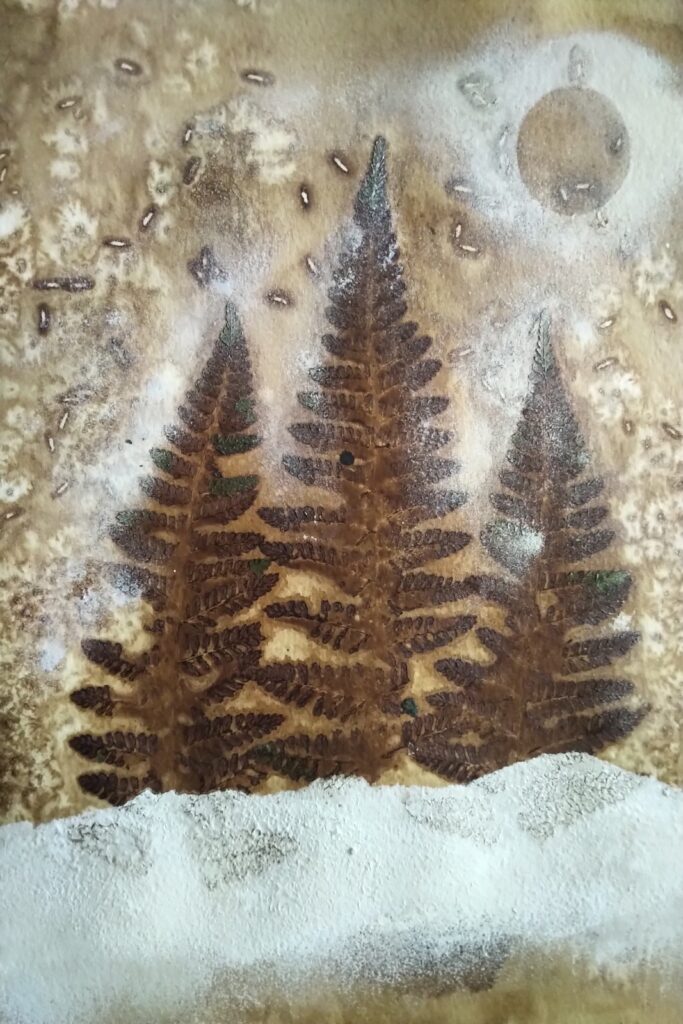
4. Prepare your coffee solution or watercolour paints. (For the coffee method: mix together your coffee granules and water, the more coffee you add, the darker the tone will be).
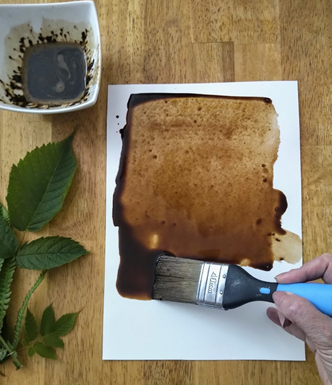
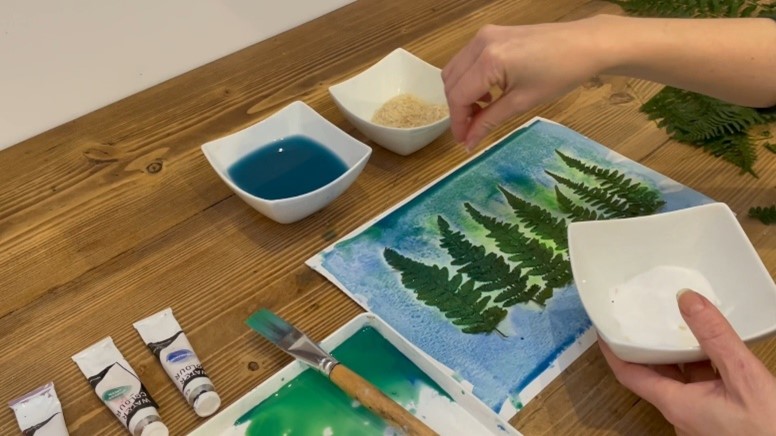
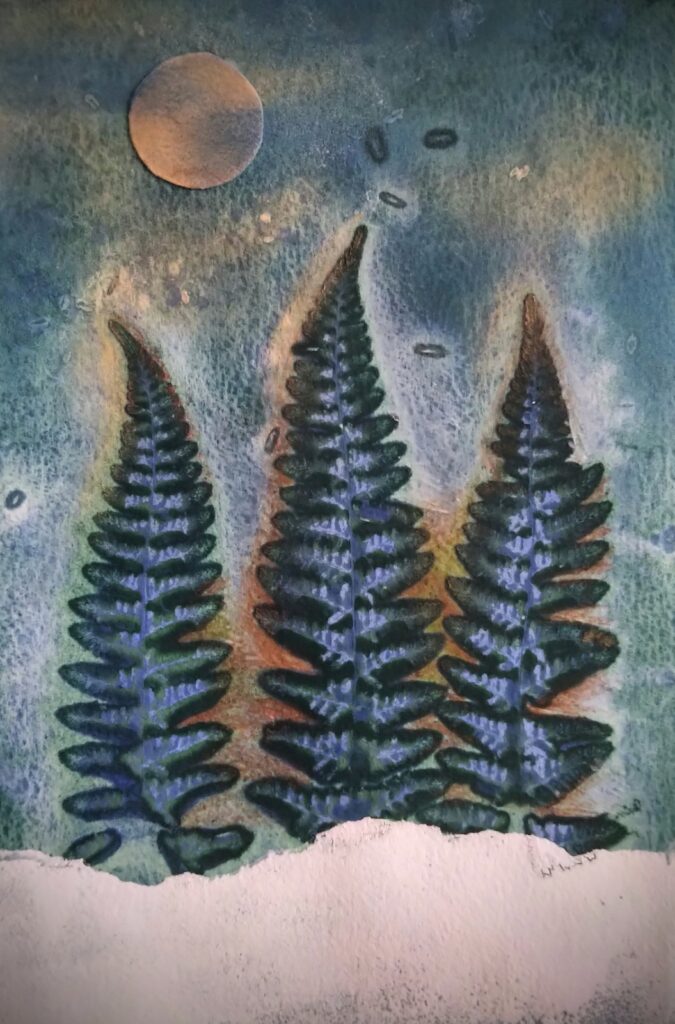
5. Use your watercolours or coffee solutions to create a wash on the paper
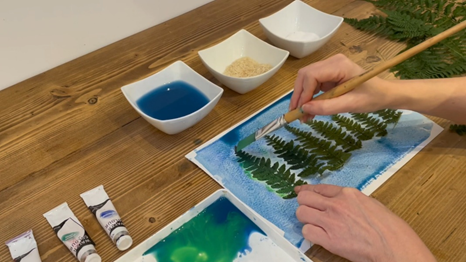
6. Using individual leaves, place on your wash, making sure the spine of each leaf is facing upwards.

7. To help the leaves fully make contact with the page add another wash on top of the leaves, if you are using watercolours you can use another colour at this stage.
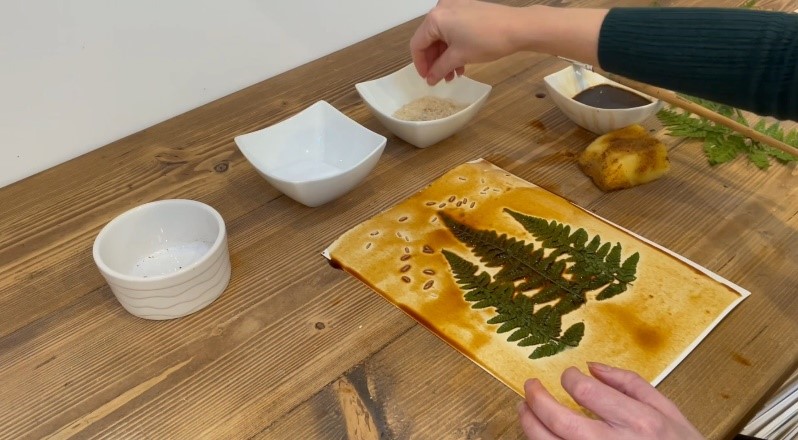
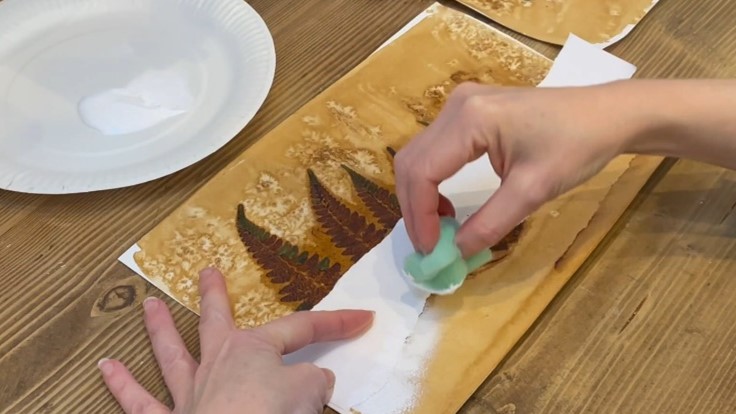
8. Once you are happy with the colours of your wash you can experiment by adding some salt and/or rice to your piece for texture. Then leave to dry.
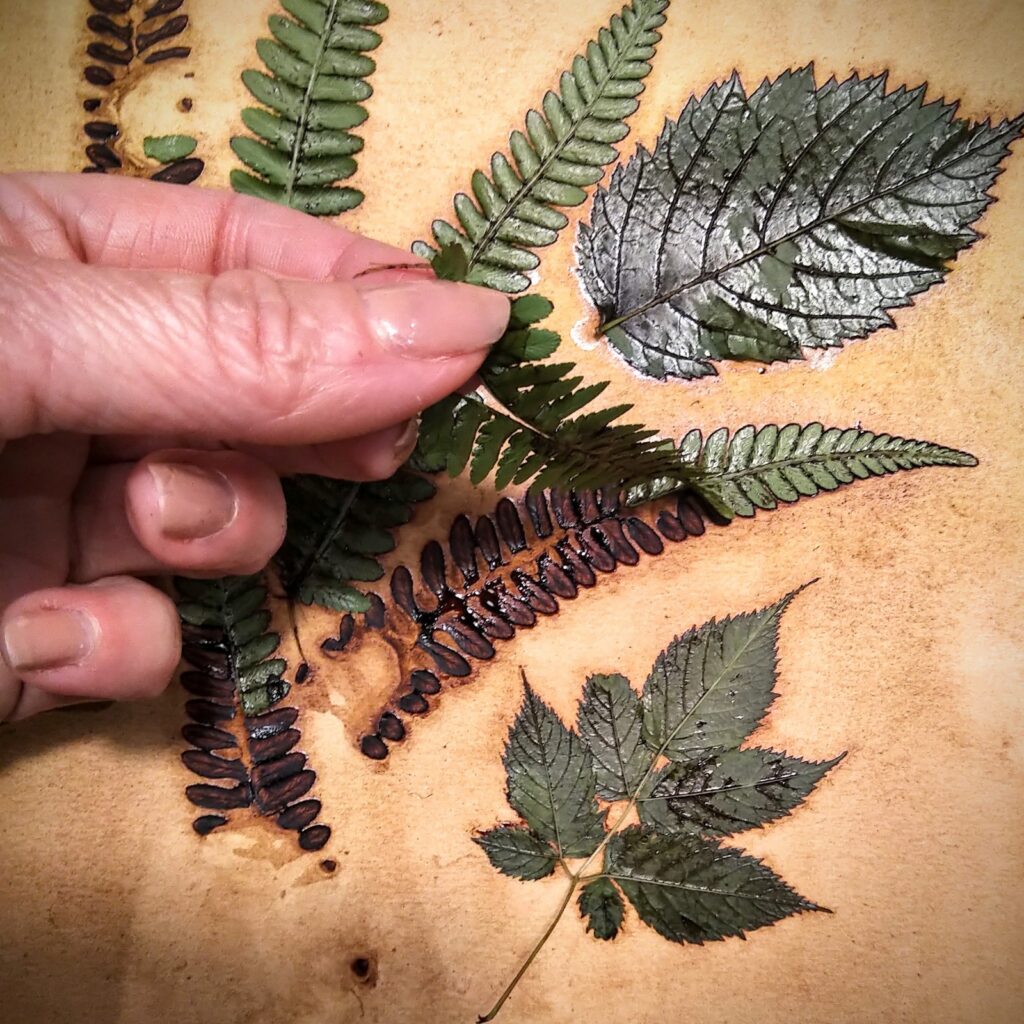
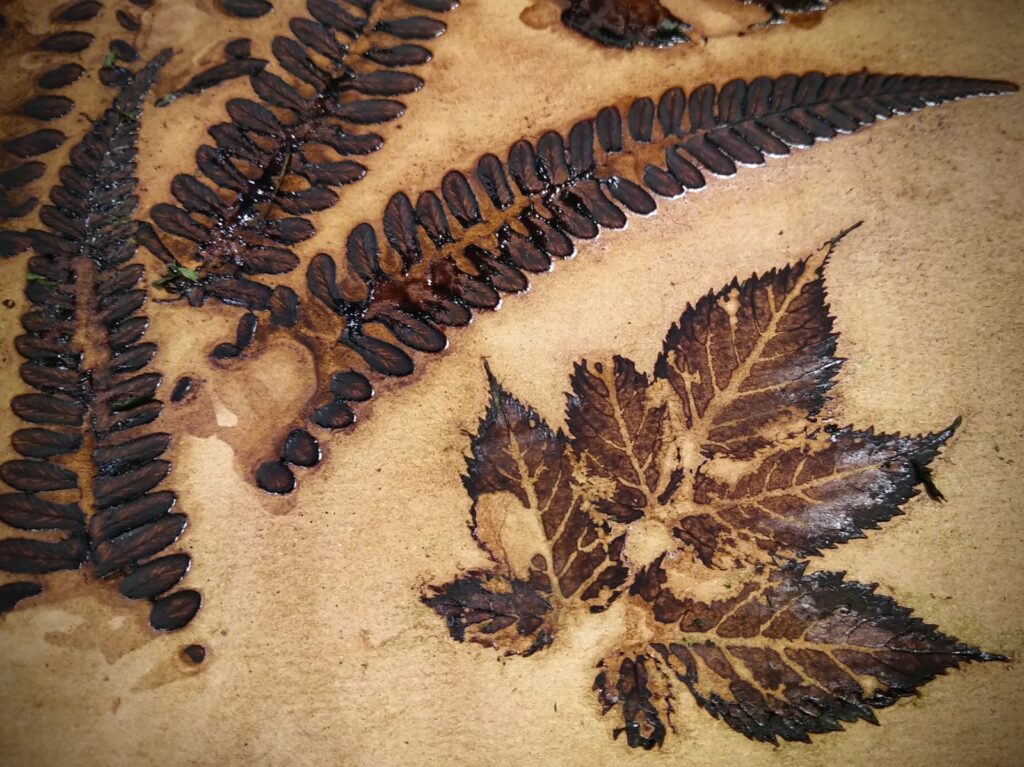
9. Once dry, you can peel the leaves away from your piece. Coffee can make the leaves very sticky so peel carefully and slowly. Don’t worry if some of the leaf sticks to the page, you can scrape this off at a later stage or leave on if you prefer.
10. You can create the effect of land by ripping up a piece of scrap paper and use the ripped edge and sponge any white household paint along the edge.
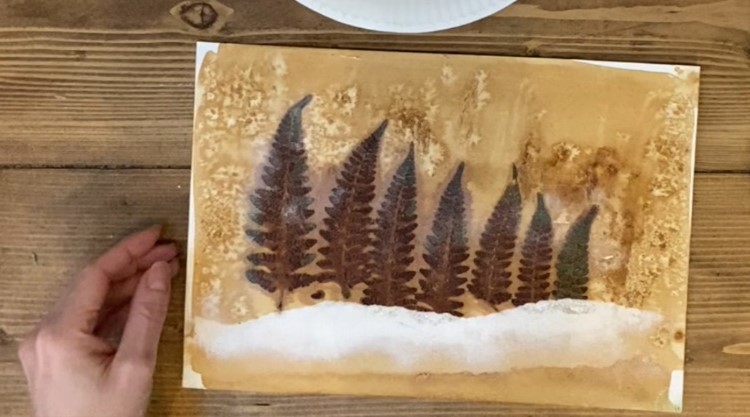
11. You can create other effects using other art materials such as pastels or pencils, using scraps of paper to create templates – have a play and see what you can come up with.
And that’s a wrap!
We hope you enjoy learning how to print with ferns at home or at work. We’d love to see your creations. Please do share on social media tagging @BazookaArts @GetOutdoorsLan and using #BazookaNature
If you would like to find out more about what we do, how we do it or any aspect of Bazooka Arts please get in touch.